IGEL Blog
How to deploy a VM with IGEL Managed Hypervisor in four simple steps
Following on from the recent announcement at Now & Next Miami of the upcoming release in Q2 of the IGEL Managed Hypervisor (IMH), (and after being able to test the solution) I thought it would be good to share my findings and take you through the process to get a VM up and running. (I’m assuming you have a working knowledge of Universal Management Servers here)
If you are interested as to why we are releasing a Hypervisor, I recommend you read this Blog post: https://www.igel.com/blog/igel-managed-hypervisor-secure-your-legacy-workloads/
Let’s get started!
What you will need
- IGEL Universal Management Server (UMS) v 12.07.100 or later
- IGEL OS12.6.1 or later
- IGEL Managed Hypervisor App (releasing in Q2 2025)
- WebDAV server to store and deploy the disk images (I used IIS on my UMS server for this in a LAB environment)
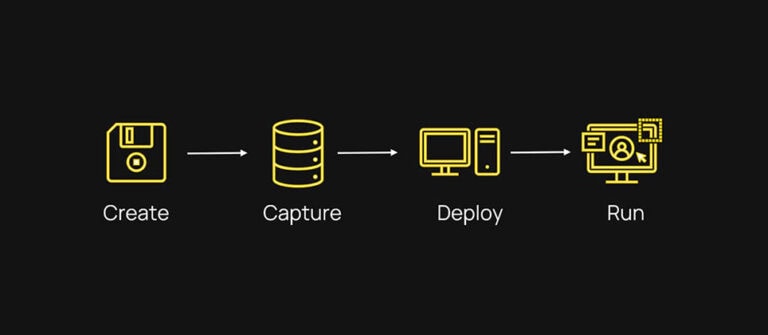
The process is very simple; create a VM on an OS12.6.1 or later endpoint, capture the disk image, create a profile in UMS to deploy the disk image to a target OS12.6.1 or later endpoint, then you can remotely manage OS12 and the VM from UMS.

Create
The first step is to create your own ‘Golden Image’. Open the Virtual Machine Manager, click File, New Virtual Machine.
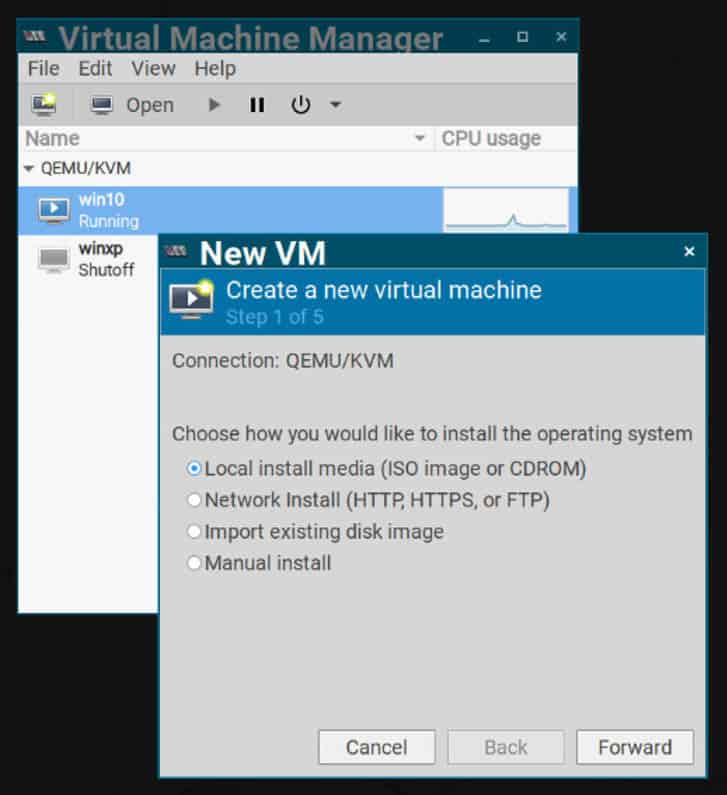
This starts with a wizard which will take you through the steps to create the virtual machine. From selecting the operating system, the storage, CPU and memory to the attached peripherals. In my case I used
a USB storage device with Windows10 and Windows XP ISO files.
Install your selected OS and configure as required.
Capture
Now you have your ‘Golden Image’ we can capture the image and get it ready for deployment. Part of the IGEL Managed Hypervisor app is an export utility called IMH Exporter. To export the VM image to the WebDAV server simply open the IMH Exporter, enter the URL to the WebDAV server and select the VM name you want to export.
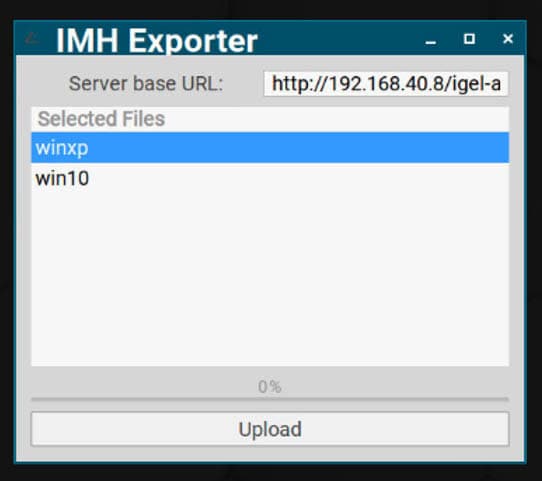
The IMH Exporter will then create two files on the WebDAV server: %vm_name%.img and %vm_name%.xml. The .img file is the disk image (this will be a large file, you will need to consider the storage size and network when exporting) the .xml file is a configuration file detailing all the component the VM needs, such as network, memory, CPU etc.
Deploy
Now we have the Image and the config file we can create a UMS Profile to deploy the Image to a target device (Tip: make sure you don’t send the VM to the device you used to create it on as you will get inconsistent results, if you need to use the same device remove the golden image first)
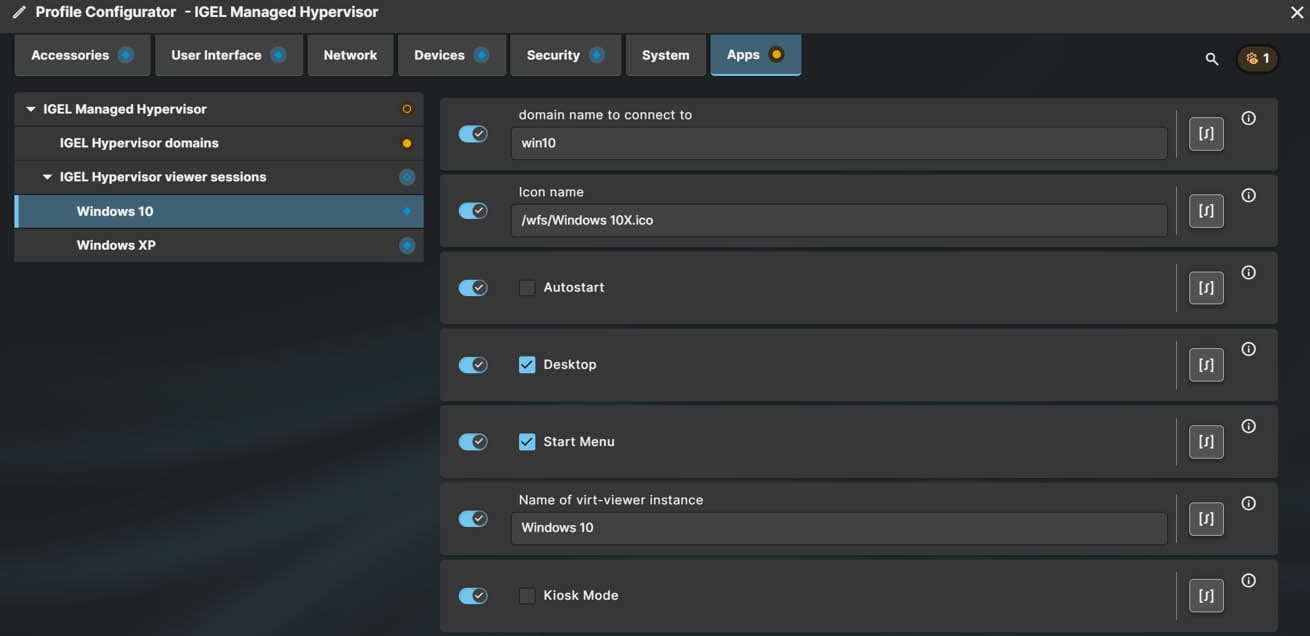
There are two sections in the IMH App Profile, IGEL Hypervisor Domains and IGEL Hypervisor viewer sessions.
IGEL Hypervisor Domains is used for image deployment. (a domain in this case is the name of the VM). Fill out the details for your VM and the URL to the XML file on the WebDAV server.
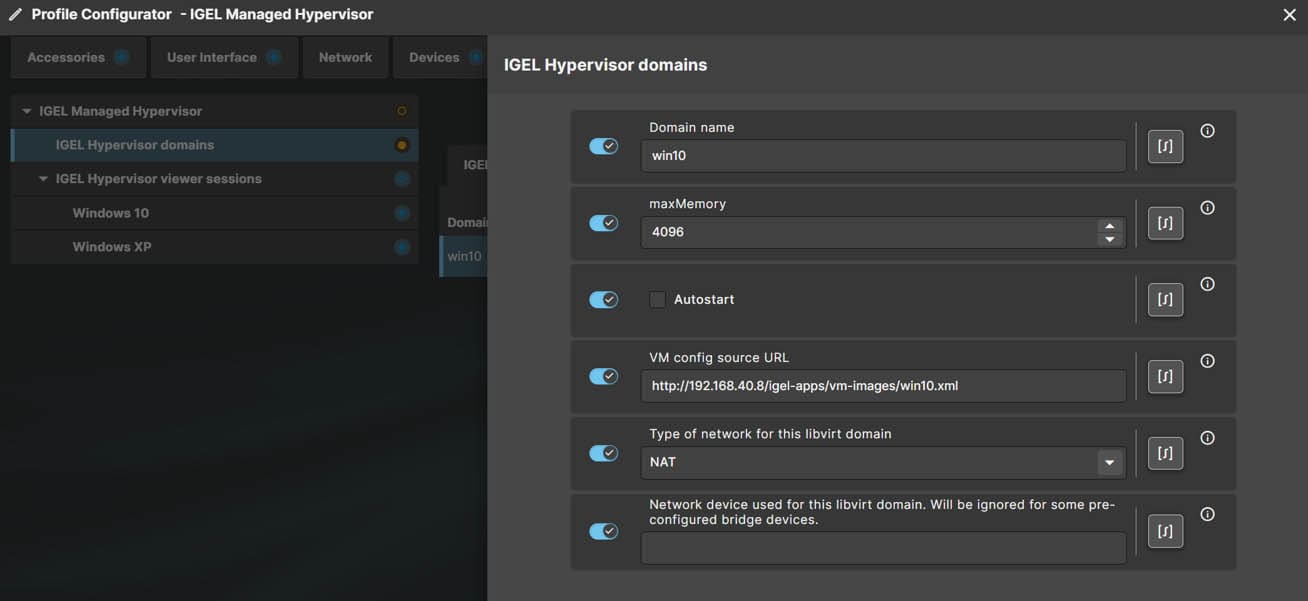
IGEL Hypervisor viewer sessions are used to create an icon which will start a VM viewer on IGEL OS allowing you to see the VM screen, select if you want the VM to auto-start, where the icon will be displayed and if you want the VM to run in kiosk mode.
Apply the profile settings and assign it to a target device.
Manage
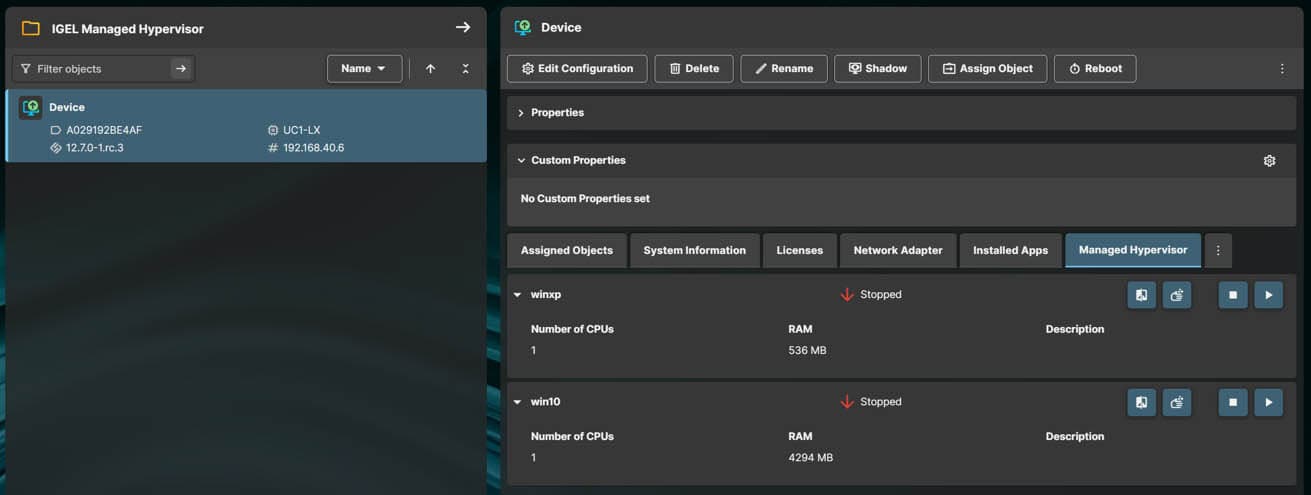
If all has gone well, you will now have a VM successfully deployed and running. To manage the VM navigate to the OS12 device in UMS, there will be a new TAB called Managed Hypervisor, click this and you will see the VM’s installed on the device and their status. From here you can perform various management tasks, such as, Start, Stop, Delete and re-image.
There we have it, four simple steps to getting your first IGEL Managed Hypervisor VM up and running.
If you would like to learn more about the IGEL Managed Hypervisor I will be running Webinars on Wednesday 14th May 2025 diving further into the details, discussing where IMH fits and running through setting everything up.
Registration links below: